
Your session has timed out. Please log in again
Please review the latest changes in your cart
Your session has timed out. Please log in again
Fold the navy blue card stock in half. Cut the card into a 6x8 card. Set aside. Cut the white card stock into a 5x7 sheet.
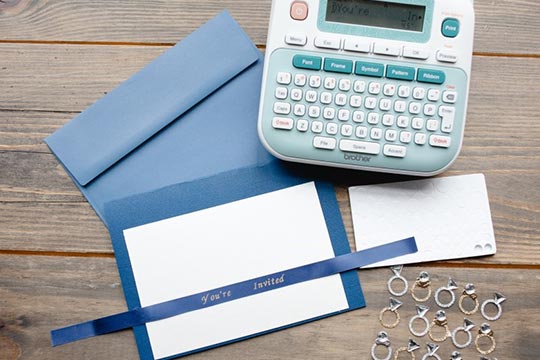
Print a label on the P-touch Embellish using the navy blue and gold ribbon. Enter "Your're Invited". Leave 12 spaces between the worlds "You're" and "Invited".For font, select Category → For style, select Bold→ For size, select Large→ For width, select NormalPress feed on the P-touch 4 times before printing and 4 times after printing. This leaves additional room for the ribbon on each end.
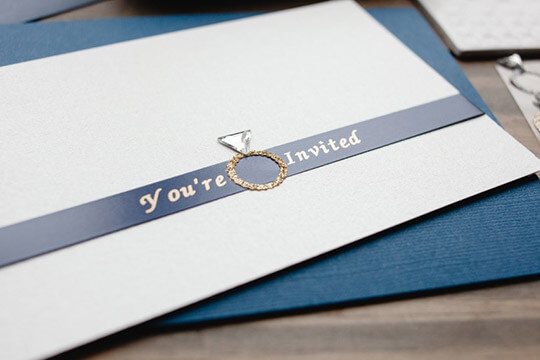
Wrap the ribbon on the lower half of the white card stock. Secure the ends of the ribbon with tape behind the white card. Once both the inside of the card and the outside of the card are complete, glue both sheets together to create your full card. In the front of the white card, add a gold diamond ring sticker between the words “You’re Invited”.
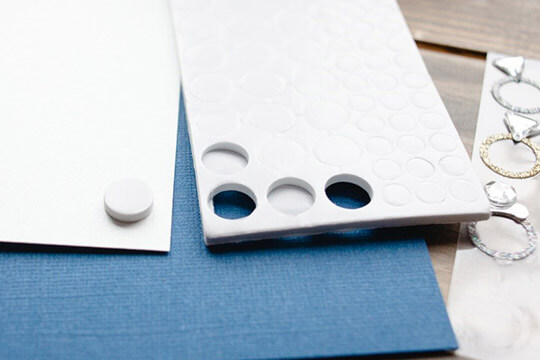
Add five mounting foams to the back of the white card stock. Stick foam in each corner and one in the middle. This adds an elegant 3-D effect to the card layers. Apply the white card on the invitation cover.
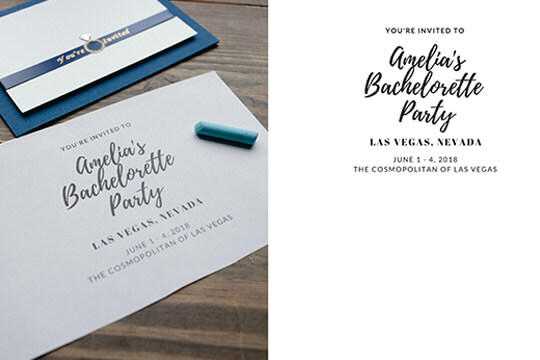
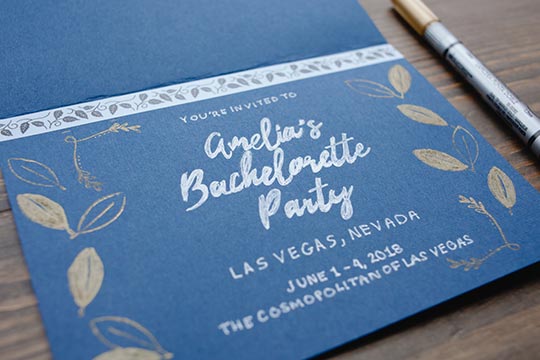
Create and print the invitation template on any lettering application. Make sure the print-out fits within the invitation. Transfer the message from the print-out to the card by smearing the back of the template with chalk. This allows the chalk to appear on the invitation using a chalk transfer method.

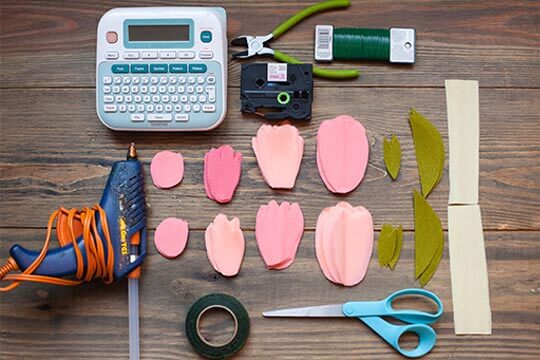
Wrap a petal around the pollen. Hot glue the petal to the pollen. Continue wrapping the pollen petal by petal.
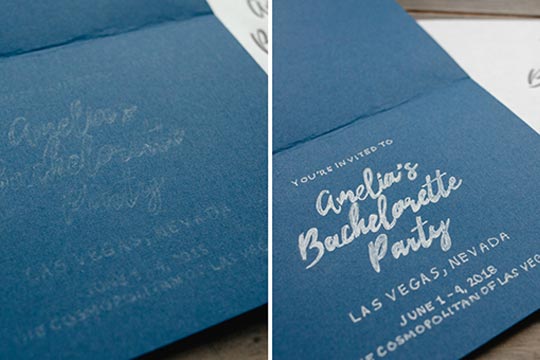
When done tracing, lift the print-out. Use the white marker to trace over the chalk indentation and color in the lettering.
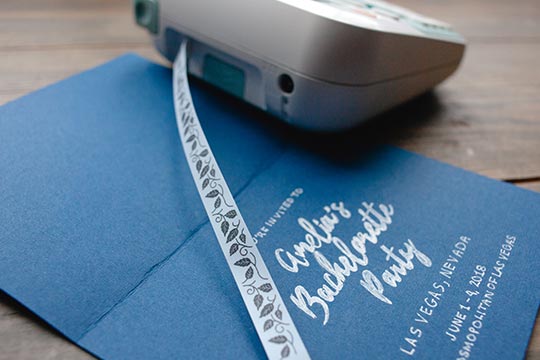
Print a leaf pattern to decorate the card on the P-touch Embellish. Select pattern 11 of 25 (leaves) to go with this theme. Print it on pastel blue cartridge 8 inches long. Tape it to the top of the invitation message and trim off the excess tape on each ends.
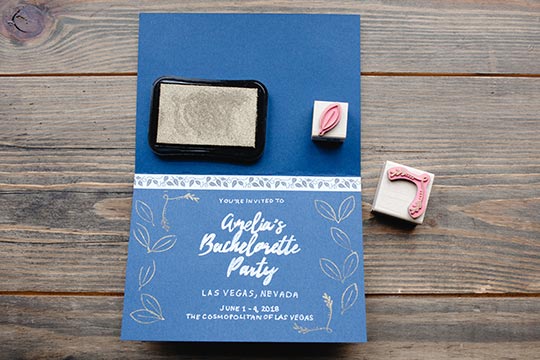
Use the gold ink, leaf and laurel stamps to decorate the sides of the invitation.
Hot glue the small and large leaves at the bottom on the peonies.
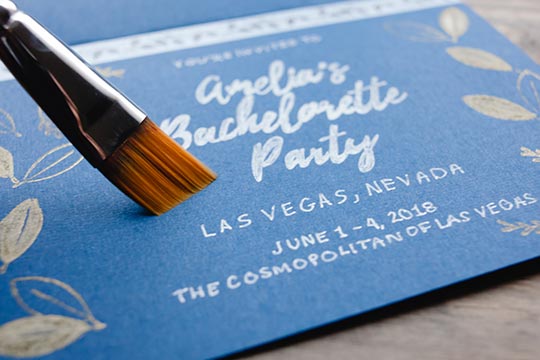
Use the soft paint brush to brush off any chalk dust.
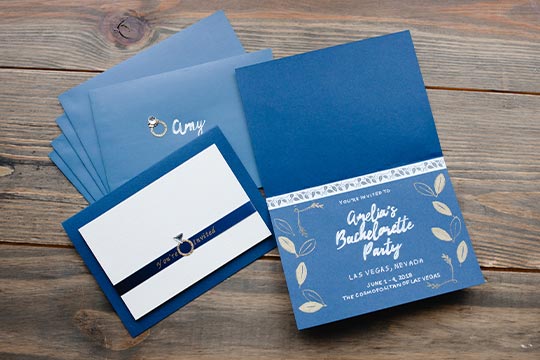
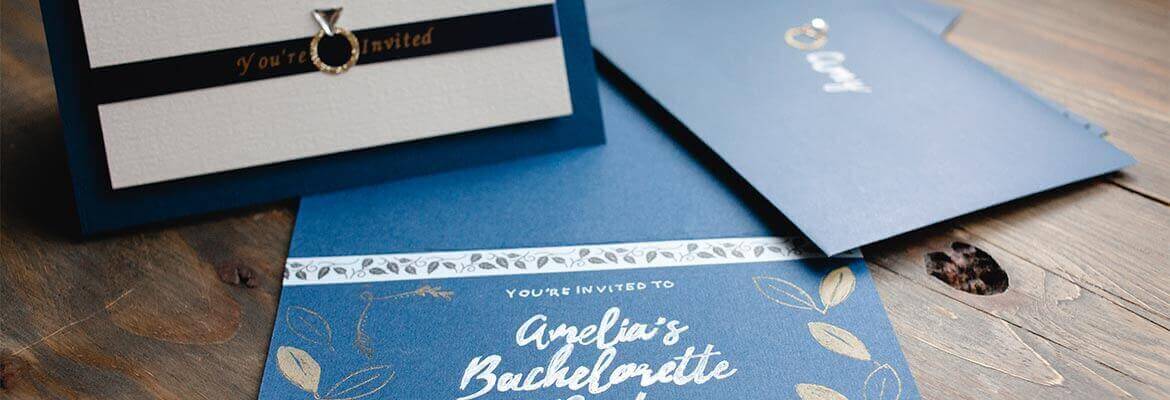
Your invitation is complete. You can use the remaining diamond ring stickers to decorate the envelop. Create as many invitations as you wish. Tell the bride’s entourage to pack their bags because you’re coming for Vegas!
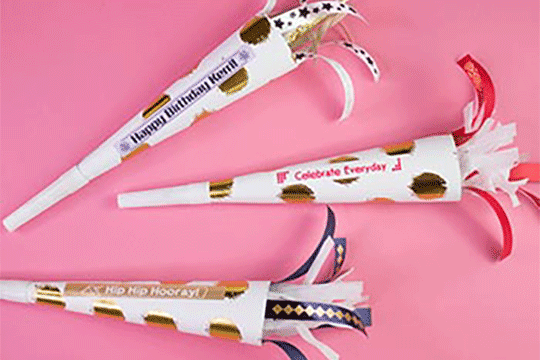
Ready to be loud and proud with this DIY party horn? Stand out and personalize any occasion with the P-touch Embellish.
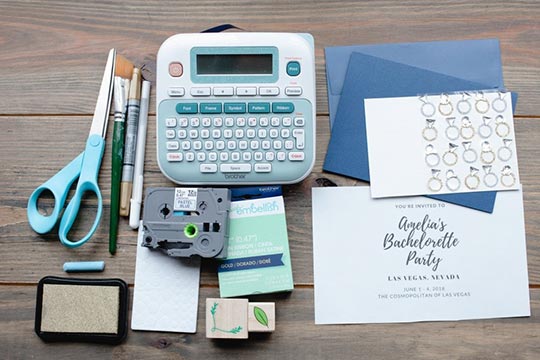
When it's time to send out the invitations, set the tone for an extravagant weekend with a classy DIY invitation. This decorative invitation can be made using some basic crafting supplies and the Brother P-touch Embellish ribbon and tape printer.
Dream Catchers are the perfect addition to any room and will hopefully bring sweet dreams! Add a personalized touch to your dream catcher with a few easy steps using the P-touch Embellish.
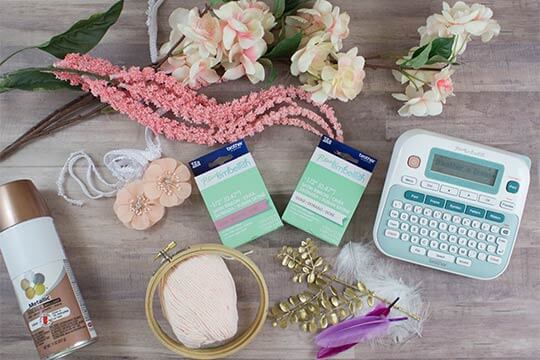
The happiest day of her daughter's life can be expensive! This Mother of the Bride corsage is made of fine crepe paper to give the peonies a life-like look and a personalization with the Brother P-touch Embellish.